Butterfinger Balls
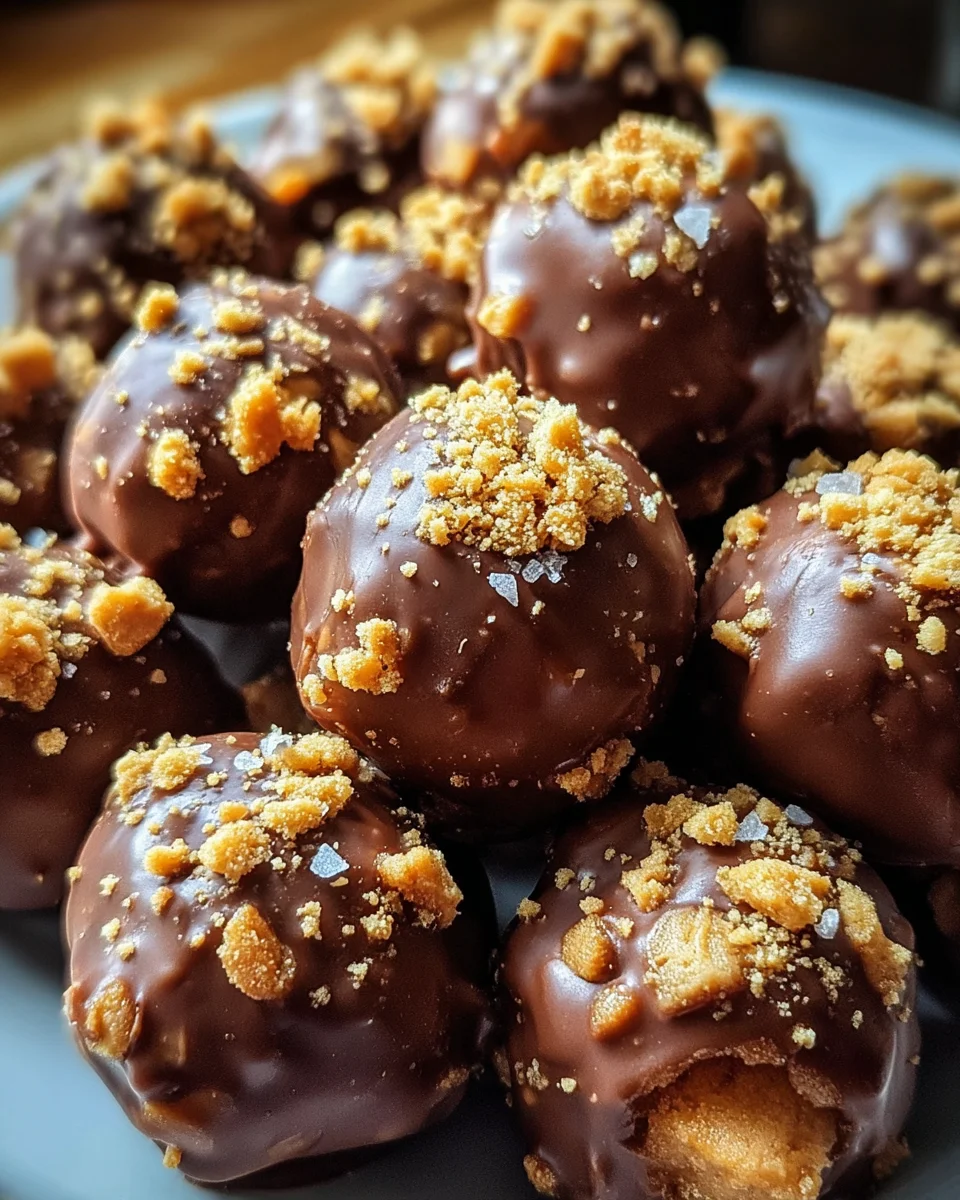
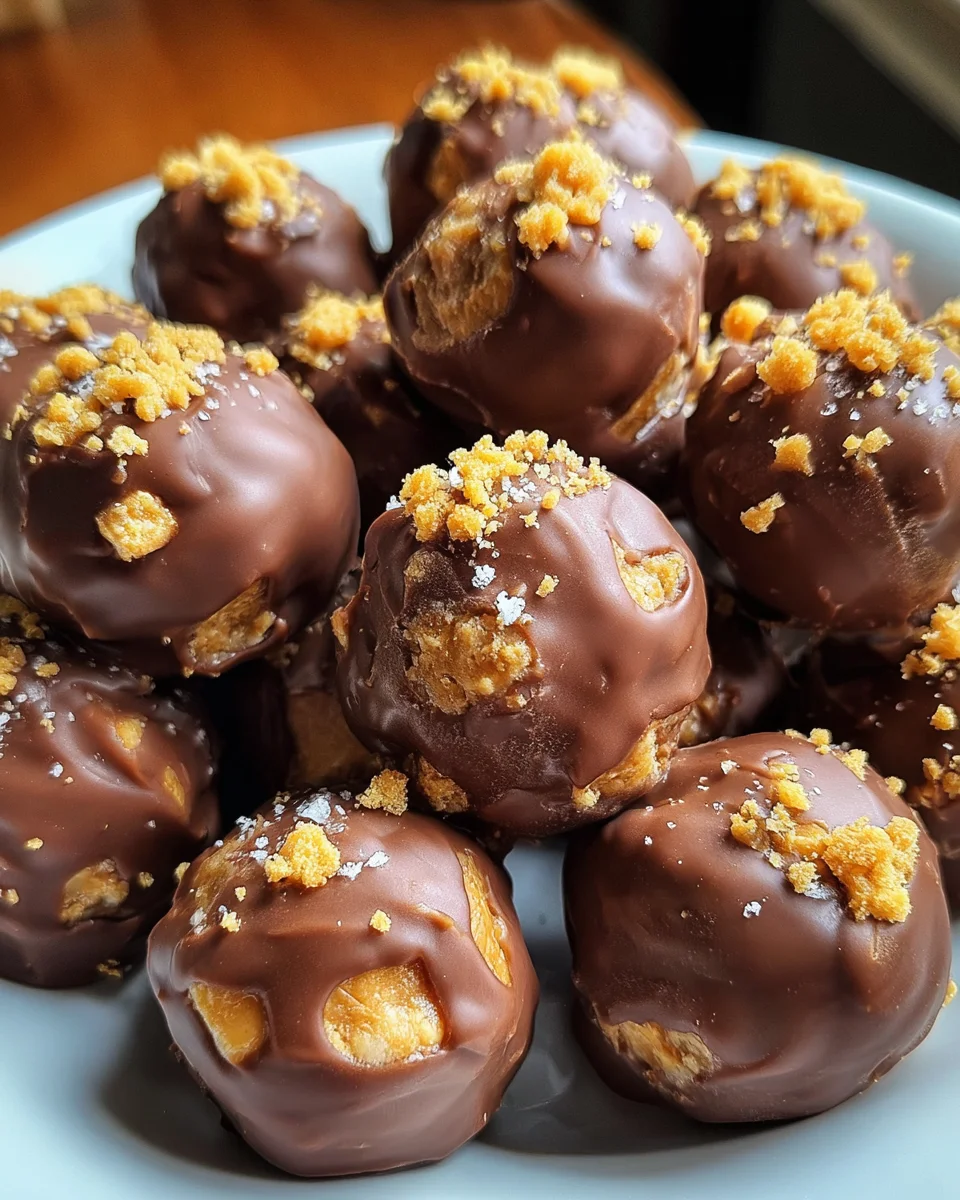
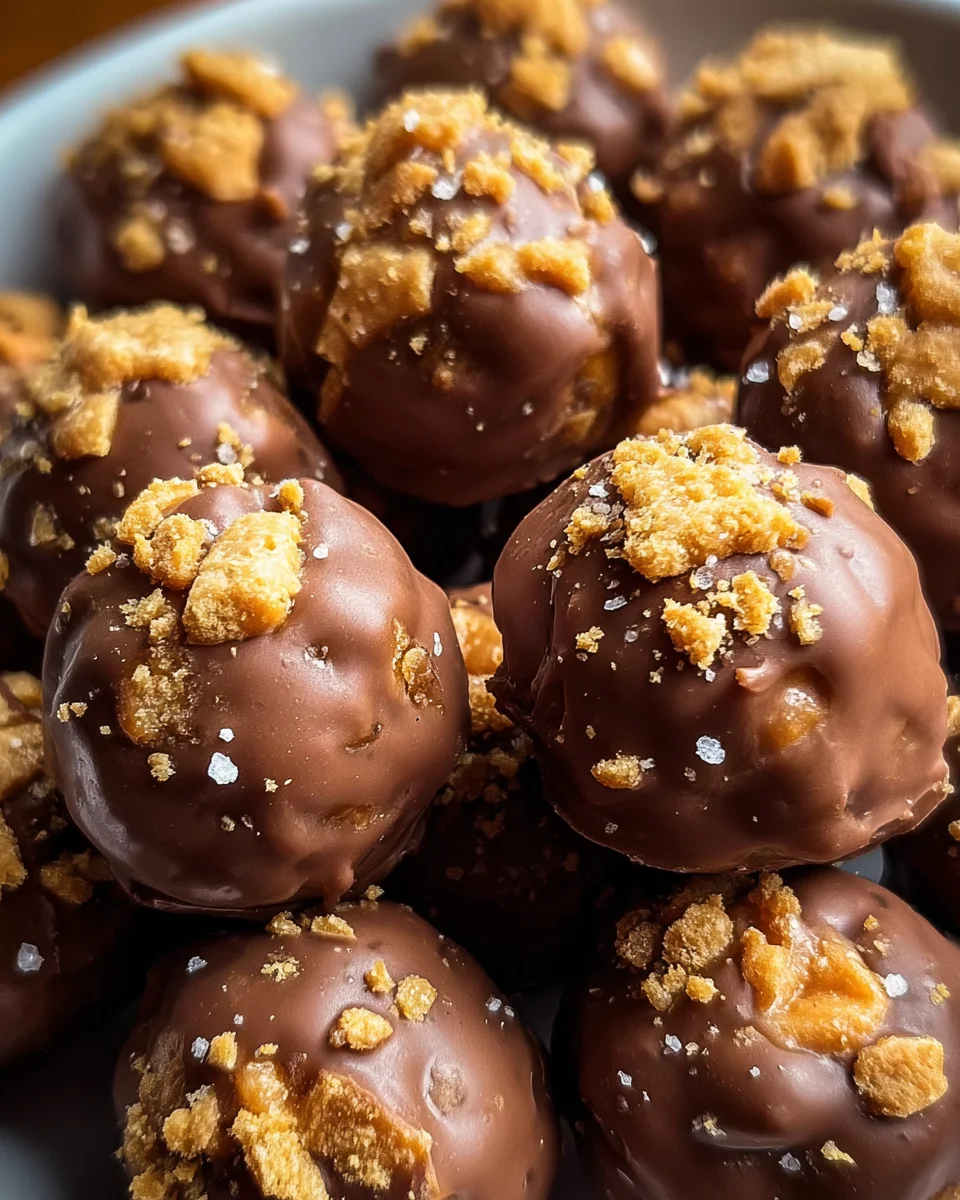
Indulge your taste buds with these irresistible Butterfinger Balls, where creamy peanut butter harmoniously melds with the crunch of graham crackers and Butterfinger candy bars, all cloaked in sumptuous melted chocolate. Perfect for social soirées and festive occasions, these heavenly morsels will vanish before you know it!
Why You’ll Love This Recipe
- Quick and Easy: This recipe takes only 15 minutes of prep time, making it simple to whip up a batch for any occasion.
- Deliciously Irresistible: Each bite bursts with the rich flavors of peanut butter, chocolate, and Butterfinger candy.
- Versatile Treat: These Butterfinger Balls are great for parties, holidays, or as a sweet treat after dinner.
- No Baking Required: Enjoy a delightful dessert without the hassle of baking; just mix, chill, and enjoy!
- Customizable Garnishes: Add your favorite toppings like sprinkles or sea salt for a personalized touch.
Tools and Preparation
To make these delightful Butterfinger Balls, you’ll need some essential tools to ensure everything goes smoothly.
Essential Tools and Equipment
- Mixing bowl
- Electric mixer or stand mixer
- Cookie sheet
- Parchment paper
- Microwave-safe bowl
Importance of Each Tool
- Mixing bowl: A large mixing bowl allows you to combine all ingredients thoroughly for a consistent mixture.
- Electric mixer: This tool helps achieve a smooth and creamy texture quickly, making the mixing process easier.
- Parchment paper: Lining your cookie sheet with parchment prevents sticking and makes cleanup a breeze.
Ingredients
Ingredients:
– 4 tablespoons softened butter (½ stick)
– 1 teaspoon vanilla extract
– 8 ounces chocolate bark or chocolate chips
– ½ cup Butterfinger bars (crushed)
– 1 cup powdered sugar
– 1 cup peanut butter (avoid all-natural varieties)
– ¾ cup crumbs from graham crackers
– Optional garnishes: additional crushed Butterfinger bars (festive sprinkles or coarse sea salt)
How to Make Butterfinger Balls
Step 1: Prepare the Dough
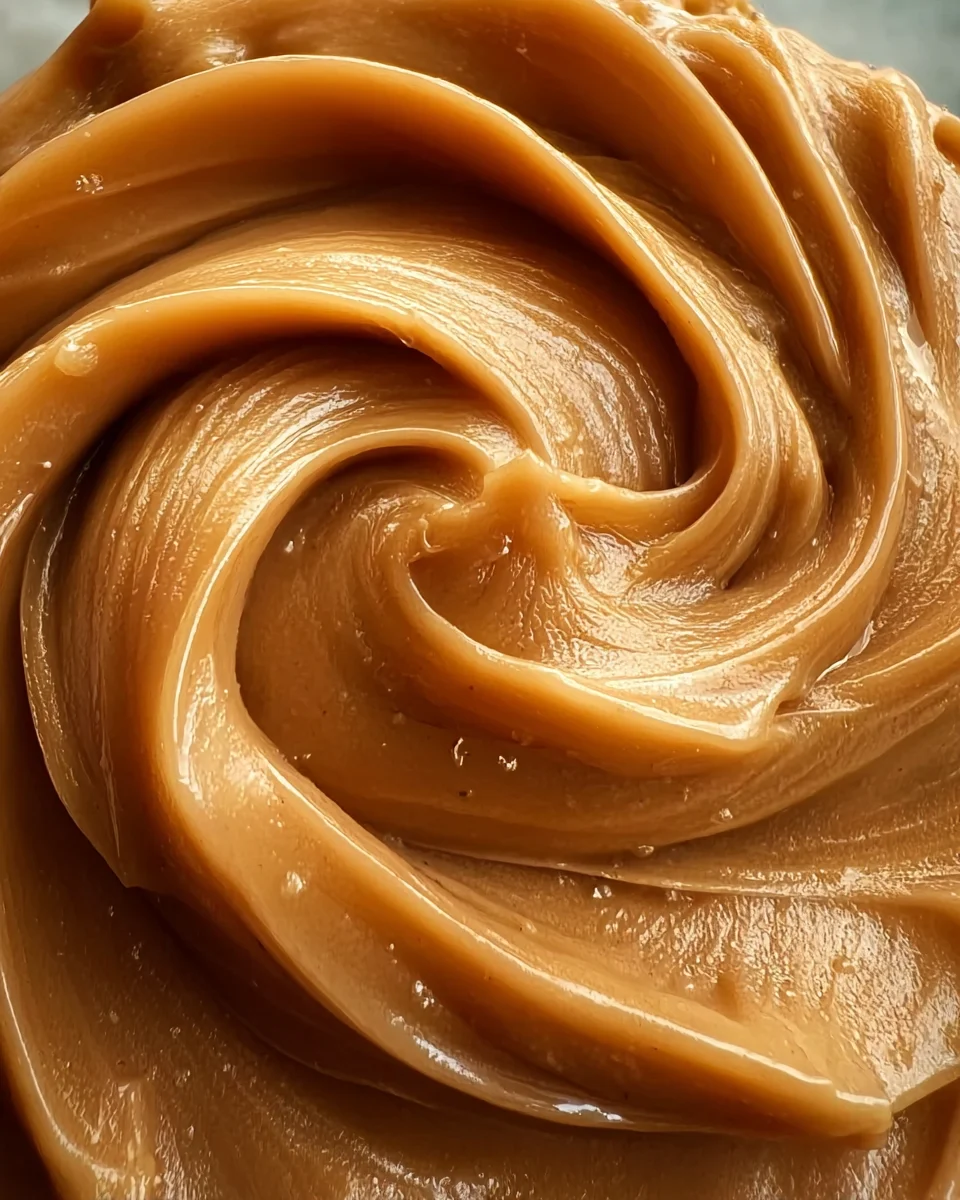
In a mixing bowl, combine the peanut butter and softened butter. Use an electric or stand mixer set to medium speed and blend until the mixture is creamy and uniform.
Step 2: Add Aromatic Notes
Incorporate the vanilla extract into the mixture. Blend thoroughly to ensure even flavor distribution.
Step 3: Sweeten the Deal
Gradually add the powdered sugar, blending at a low speed. Make sure to scrape down the sides of the bowl to prevent any lumps from forming.
Step 4: Crunch Time
Gently fold in the graham cracker crumbs and crushed Butterfinger bars. This adds texture and flavor that makes these balls irresistible.
Step 5: Shape ’em Up
Align a large cookie sheet with parchment paper. Scoop out approximately 1 to 1½ tablespoons of dough, roll into neat balls, and place them on the cookie sheet.
Step 6: Chilling Phase
Freeze the dough balls on the sheet for roughly 30 minutes until they are completely firm.
Step 7: Melting the Chocolate
Once chilled, proceed to melt the chocolate bark or chips. Utilize a microwave-safe bowl and heat in 30-second spurts at 50% power, stirring in between each interval.
Step 8: Coat and Decorate
Submerge each chilled ball into the luscious melted chocolate. You can fully coat them or leave some of the peanut butter mixture exposed for visual appeal.
Step 9: Finishing Touches
Sprinkle additional crushed Butterfinger bars, holiday-themed sprinkles, or a dash of flaky sea salt on top for that extra pop of flavor.
Step 10: The Grand Finale
Allow the chocolate to solidify completely before indulging in your delicious Butterfinger Balls! Enjoy this sweet treat at your next gathering or keep them all for yourself!
How to Serve Butterfinger Balls
Butterfinger Balls are a delightful treat that can be enjoyed in various ways. Whether you’re hosting a gathering or simply indulging yourself, these sweet bites offer versatility in serving.
For Parties
- Platter Display: Arrange your Butterfinger Balls on a decorative platter, garnished with additional crushed Butterfinger bars for an eye-catching presentation.
- Individual Wrapping: Wrap each ball in colorful foil or cellophane for easy grab-and-go treats at parties.
As Dessert
- Dessert Table Feature: Include Butterfinger Balls as part of a dessert table alongside other sweets like brownies and cupcakes. Their unique flavor will entice guests.
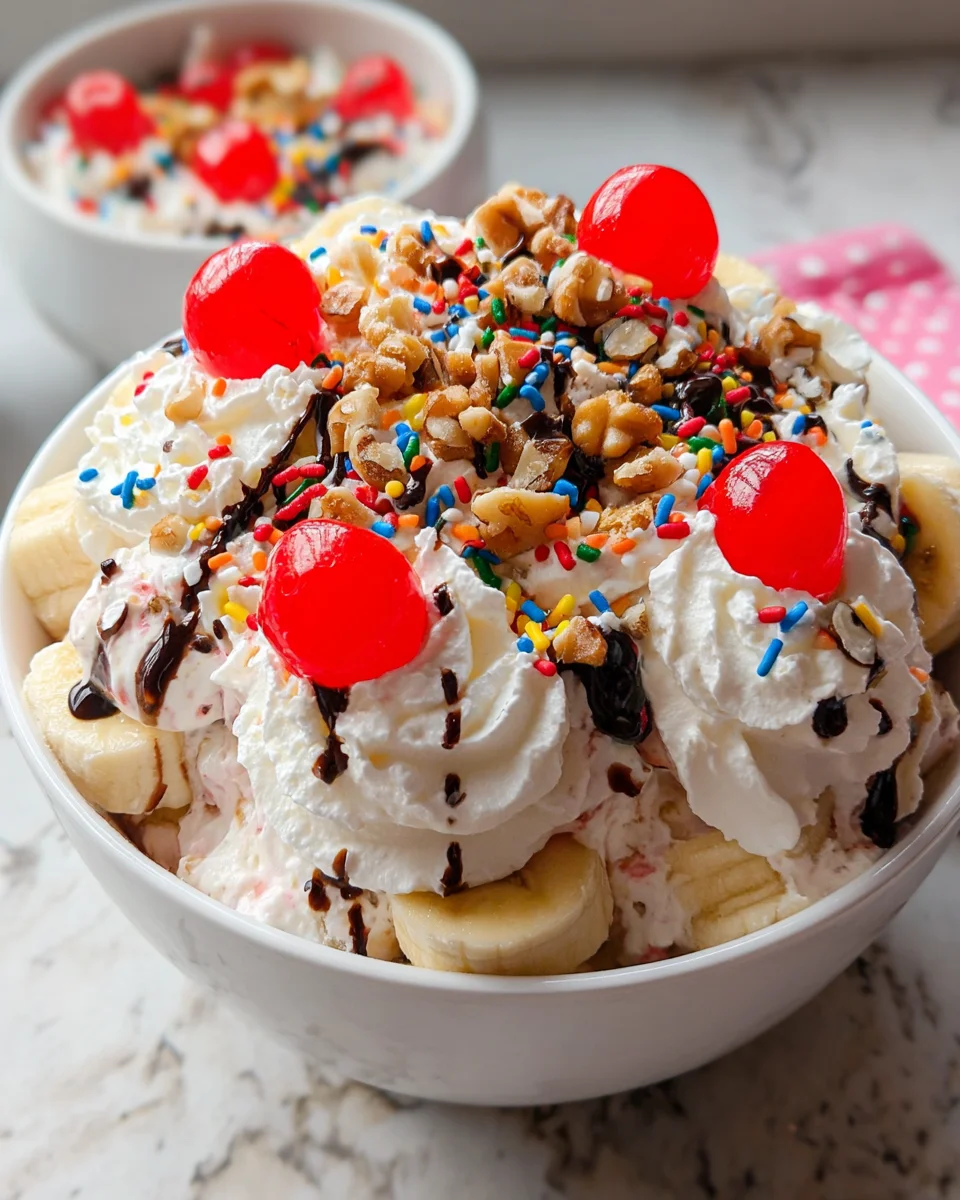
- Pair with Ice Cream: Serve these delicious balls atop a scoop of vanilla ice cream for an extra indulgent dessert experience.
Gift Giving
- Homemade Gifts: Package the Butterfinger Balls in mason jars or festive boxes to give as gifts during holidays or special occasions.
- Party Favors: Create small bags of Butterfinger Balls to hand out as party favors, ensuring guests leave with a sweet memory.
How to Perfect Butterfinger Balls
To make your Butterfinger Balls even more delightful, consider these helpful tips.
- Use Room Temperature Ingredients: Ensure your peanut butter and butter are at room temperature for easier mixing and a smoother texture.
- Chill Thoroughly: Don’t skip the chilling step! Freezing the balls helps them maintain shape when coated in chocolate.
- Experiment with Chocolate: Try using different types of chocolate, such as dark or white chocolate, to create unique flavor profiles.
- Adjust Sweetness: If you prefer less sweetness, reduce the amount of powdered sugar based on your taste preferences.
- Store Properly: Keep the finished Butterfinger Balls in an airtight container in the refrigerator to maintain freshness.
Best Side Dishes for Butterfinger Balls
While Butterfinger Balls are delicious on their own, pairing them with complementary side dishes can enhance your dessert experience. Here are some great options:
- Chocolate Dipped Fruit: Fresh strawberries or bananas dipped in chocolate add a refreshing contrast to the sweetness of the balls.
- Mini Cheesecakes: Individual cheesecakes provide a creamy texture that perfectly balances the crunchy and sweet flavors of the Butterfinger Balls.
- Fruit Salad: A light and fruity salad can cleanse the palate after enjoying rich treats like Butterfinger Balls.
- Nutty Trail Mix: A homemade trail mix featuring nuts and dried fruits offers a healthy option alongside these sweet bites.
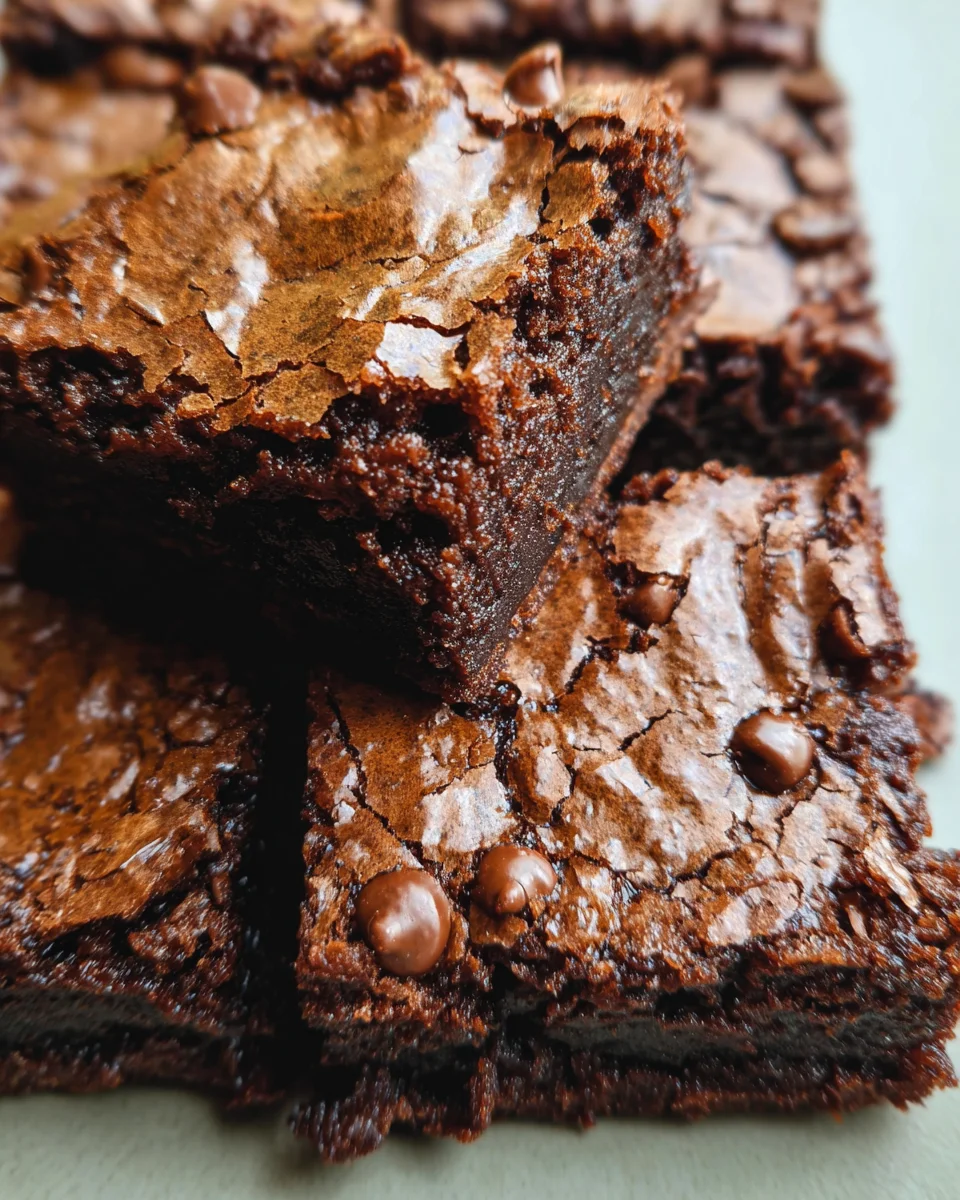
- Brownies: Rich, fudgy brownies complement the peanut butter flavor beautifully while adding more chocolatey goodness to your dessert spread.
- Coffee or Hot Chocolate: Pairing these treats with warm beverages enhances their flavors and creates a cozy atmosphere for enjoying sweets.
Common Mistakes to Avoid
Making Butterfinger Balls can be a fun and rewarding experience, but there are some common pitfalls that can hinder your success.
-
Skipping the Chilling Step: Failing to chill the dough balls before coating them in chocolate can lead to messy results. Make sure to freeze them for about 30 minutes to ensure they hold their shape.
-
Using Natural Peanut Butter: All-natural peanut butter can make your mixture too runny. Stick with conventional peanut butter for the best texture and flavor.
-
Overheating the Chocolate: Melting chocolate too quickly can cause it to seize up. Always use low heat and stir frequently to achieve a smooth melt.
-
Not Measuring Ingredients Accurately: Baking is a science, and improper measurements can throw off the balance of flavors. Use a kitchen scale or measuring cups for accuracy.
-
Neglecting to Scrape the Bowl: Not scraping down the sides of the mixing bowl can leave lumps of sugar or peanut butter in your mixture. Remember to pause and scrape down for even consistency.
Storage & Reheating Instructions
Refrigerator Storage
- Store Butterfinger Balls in an airtight container.
- They will keep well in the refrigerator for up to one week.
Freezing Butterfinger Balls
- Place the balls in a single layer on a baking sheet until frozen.
- Transfer them to a freezer-safe container or bag, storing for up to three months.
Reheating Butterfinger Balls
- Oven: Preheat to 350°F (175°C) and warm for about 5-10 minutes.
- Microwave: Heat on medium power for 15-20 seconds at a time until warmed through.
- Stovetop: Use a non-stick pan over low heat, turning gently until warmed.
Frequently Asked Questions
If you have questions about making Butterfinger Balls, you’re not alone! Here are some common inquiries.
How do I make Butterfinger Balls gluten-free?
You can easily make these treats gluten-free by using gluten-free graham cracker crumbs instead of traditional ones.
Can I customize my Butterfinger Balls?
Absolutely! Feel free to add different candies, nuts, or even flavored extracts like almond or coconut for a unique twist on this recipe.
What if I don’t have chocolate bark?
You can substitute with chocolate chips; just ensure they are suitable for melting. Follow similar melting instructions for best results.
How long do Butterfinger Balls last?
When stored properly, these delicious bites will last about one week in the refrigerator or up to three months in the freezer.
Final Thoughts
These Butterfinger Bliss Balls are not only delectable but also versatile enough for any occasion. Whether you’re serving them at parties or enjoying them as a sweet treat at home, they’re sure to impress. Don’t hesitate to customize your batch with additional flavors or toppings!

Butterfinger Balls
- Total Time: 15 minutes
- Yield: Approximately 20 servings 1x
Description
Indulge in the delightful world of Butterfinger Balls, where creamy peanut butter meets crunchy Butterfinger bars, all enveloped in rich chocolate. These no-bake treats are perfect for parties, celebrations, or simply satisfying your sweet tooth at home. With just a few simple ingredients and minimal prep time, you’ll have a crowd-pleasing dessert ready to impress your guests. The combination of flavors and textures makes each bite a heavenly experience that will disappear in no time!
Ingredients
- 1 cup peanut butter
- 4 tablespoons softened butter
- 1 cup powdered sugar
- ¾ cup graham cracker crumbs
- ½ cup crushed Butterfinger bars
- 8 ounces chocolate bark or chocolate chips
- Optional: additional crushed Butterfinger bars or sprinkles for decoration
Instructions
- In a mixing bowl, blend peanut butter and softened butter until creamy.
- Mix in vanilla extract, then gradually add powdered sugar while mixing at low speed.
- Fold in graham cracker crumbs and crushed Butterfinger bars.
- Shape mixture into balls (1 to 1½ tablespoons each) and place on parchment-lined cookie sheet.
- Freeze for about 30 minutes until firm.
- Melt chocolate bark or chips in a microwave-safe bowl, stirring until smooth.
- Dip each chilled ball into melted chocolate and place back on the sheet.
- Garnish with extra crushed Butterfinger bars or sprinkles before the chocolate sets.
- Prep Time: 15 minutes
- Cook Time: 0 minutes
- Category: Dessert
- Method: No-Bake
- Cuisine: American
Nutrition
- Serving Size: 1 serving
- Calories: 98
- Sugar: 8g
- Sodium: 40mg
- Fat: 5g
- Saturated Fat: 2g
- Unsaturated Fat: 2g
- Trans Fat: 0g
- Carbohydrates: 10g
- Fiber: 1g
- Protein: 3g
- Cholesterol: 5mg

