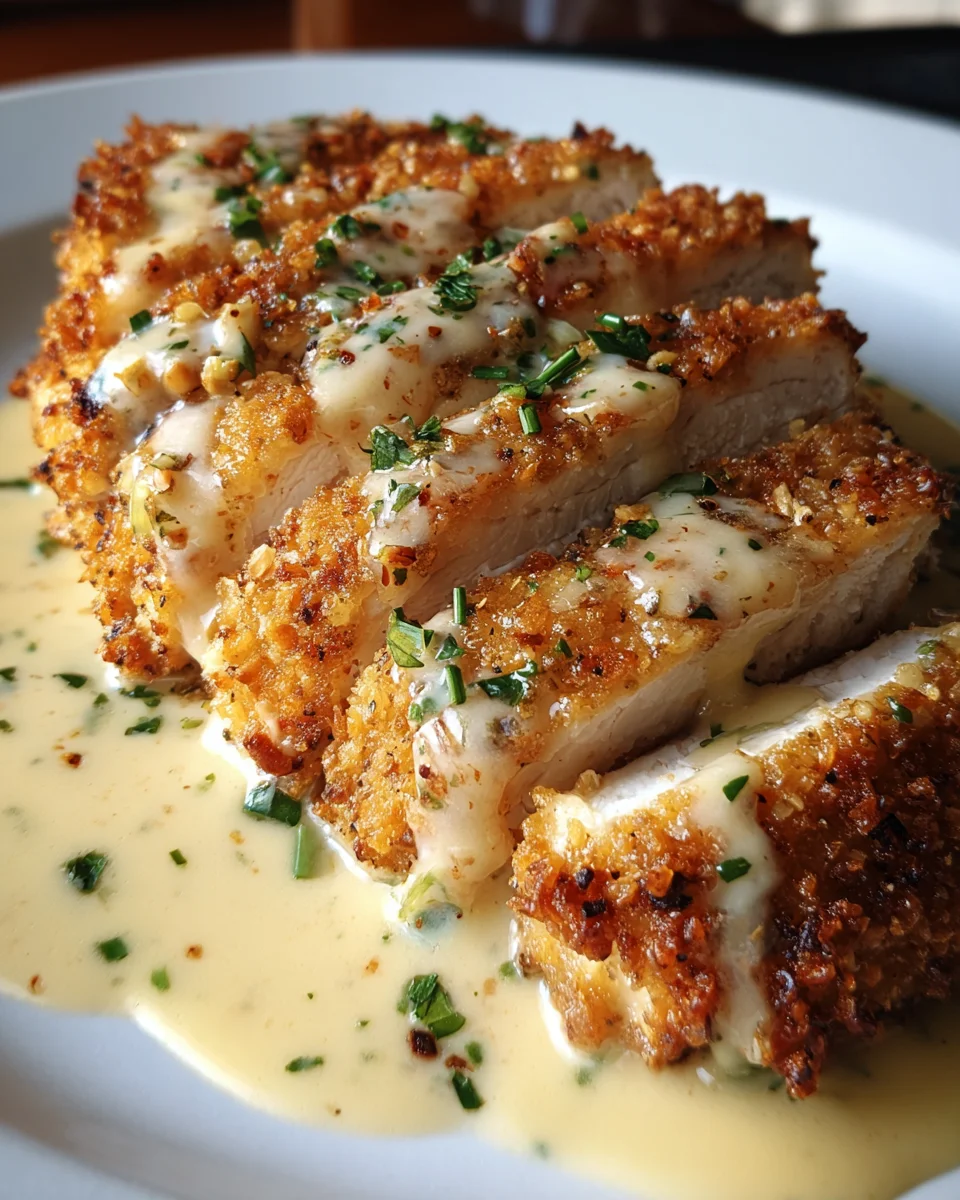
Homemade Bubble Gum
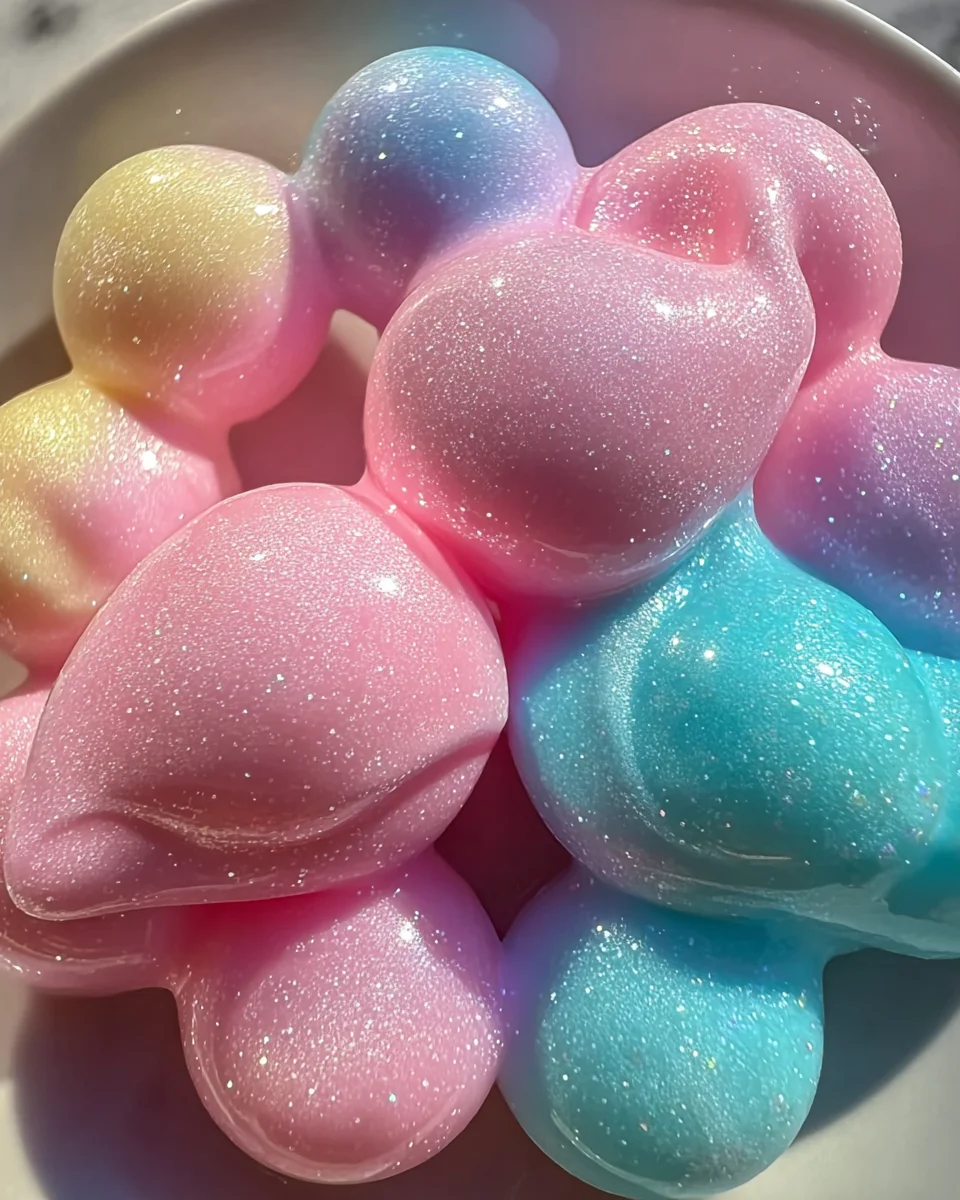
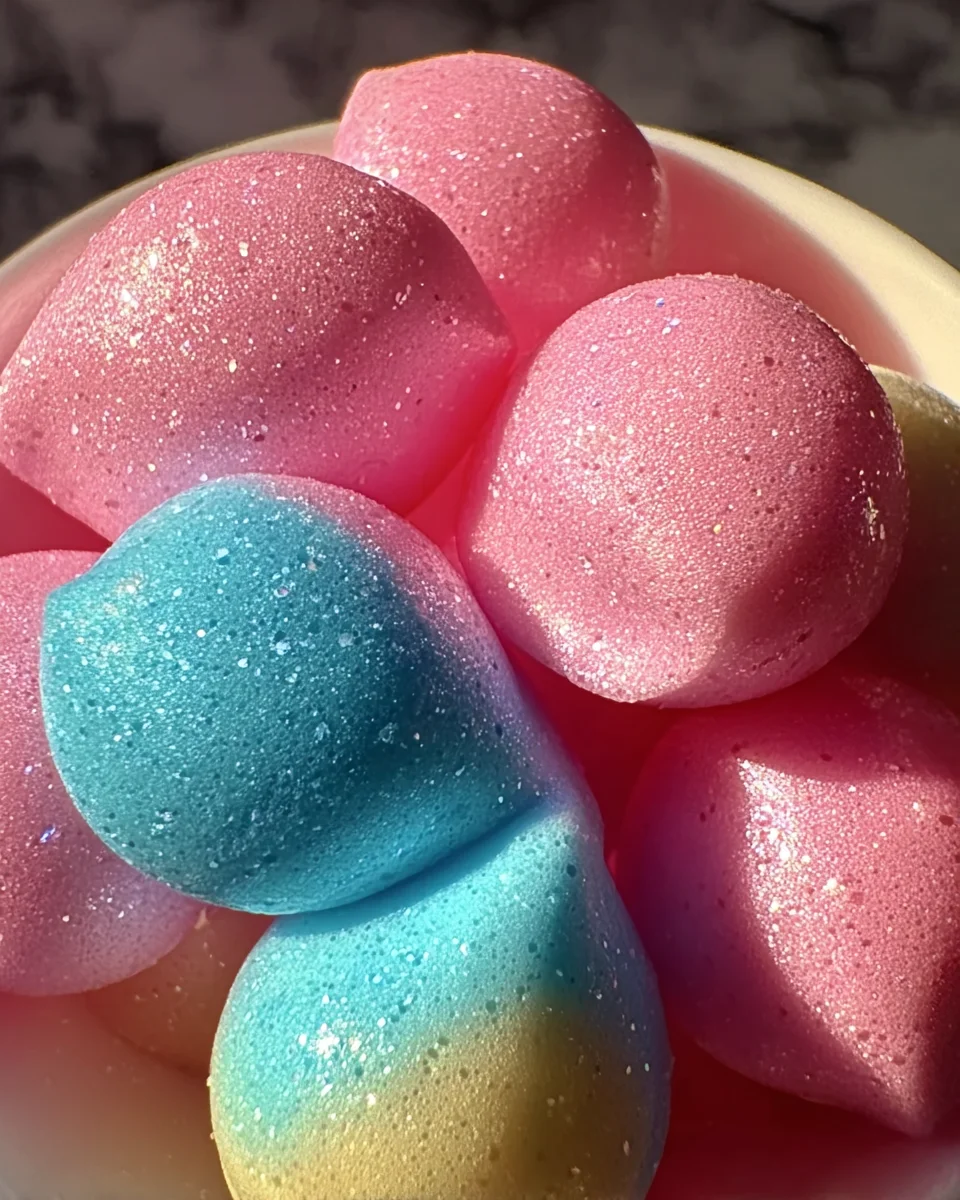
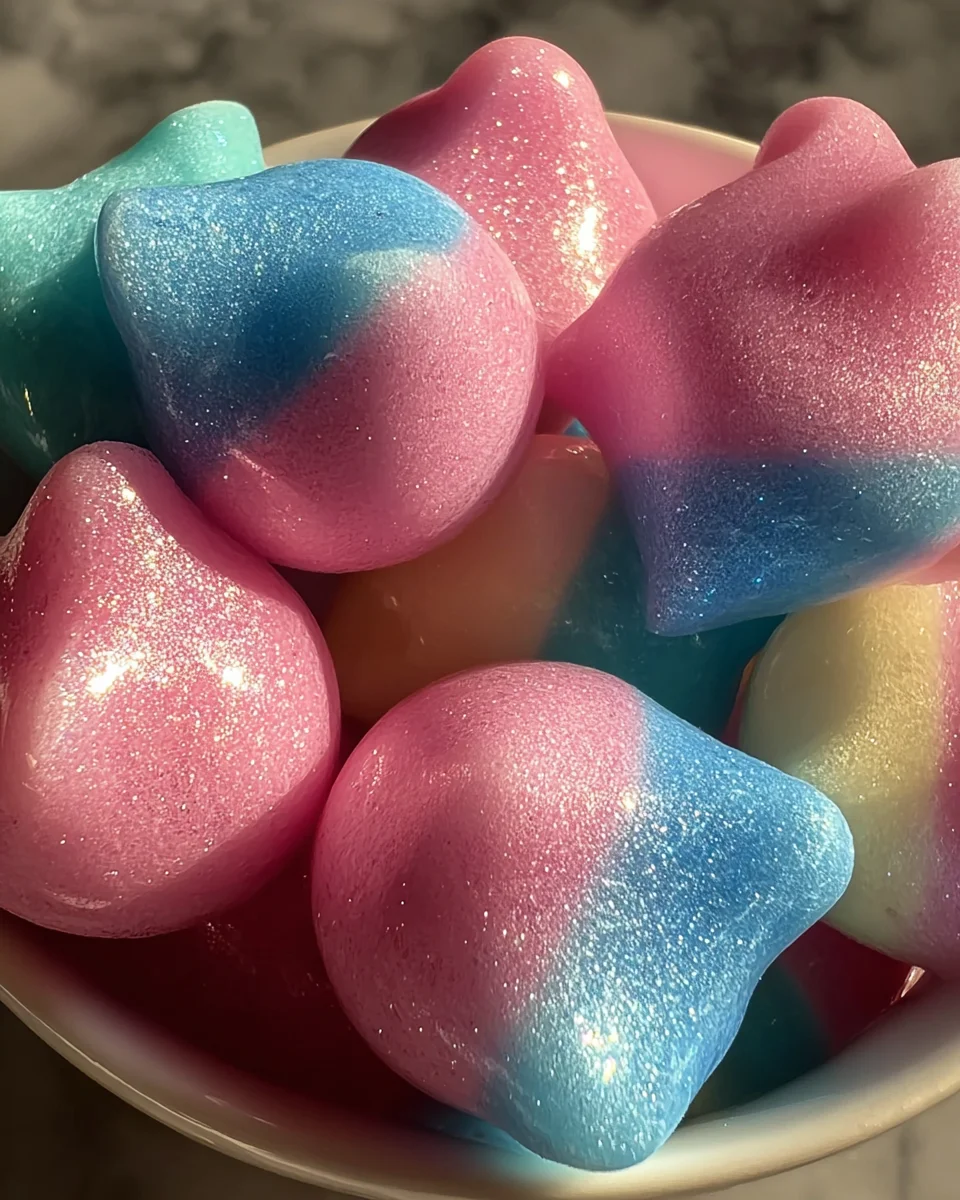
Make your own Homemade Bubble Gum that is not only fun to make but also deliciously customizable! This recipe allows you to experiment with various flavors and colors, making it perfect for kids’ activities, birthday parties, or simply a delightful treat for yourself. The best part? You can create bubble gum that suits your taste, ensuring a unique and enjoyable experience every time.
Why You’ll Love This Recipe
- Easy to Follow: With simple steps, you can whip up your own bubble gum in no time.
- Customizable Flavors: Choose your favorite flavors and colors to make the gum truly yours.
- Fun Activity for Kids: This recipe doubles as a great hands-on activity for children.
- Perfect for Parties: Impress your friends with homemade treats at gatherings.
- Unique Gift Idea: Package your creations for a sweet and thoughtful gift.
Tools and Preparation
Before you dive into making your Homemade Bubble Gum, gather the necessary tools. Having everything ready will make the process smooth and enjoyable.
Essential Tools and Equipment
- Microwave-safe bowl
- Measuring cups
- Measuring spoons
- Stirring spoon
- Food-safe gloves (optional)
Importance of Each Tool
- Microwave-safe bowl: Essential for melting the gum base evenly without burning.
- Measuring cups: Ensure accurate ingredient quantities for the best results.
- Stirring spoon: Helps mix the ingredients thoroughly for a consistent texture.
Ingredients
To create this delightful Homemade Bubble Gum, you’ll need just a few simple ingredients:
For the Gum Base
- 1/3 cup gum base
- ¼ cup corn syrup
- 3 tablespoons powdered sugar
For Flavoring and Color
- 3 tablespoons gum powder
- ¼ teaspoon citric acid
- Food coloring as desired
- Flavoring oil as desired
How to Make Homemade Bubble Gum
Follow these steps to create your very own bubble gum masterpiece!
Step 1: Melt the Gum Base
- Heat the gum base in a microwave-safe bowl in 30-second intervals until fully melted.
- Carefully remove from microwave; it will be hot.
Step 2: Combine Ingredients
- Stir in corn syrup, mixing well until fully combined.
- Add in food coloring and flavoring oil, stirring until evenly distributed.
Step 3: Add Powders
- Gradually mix in powdered sugar until the mixture is no longer sticky.
Step 4: Shape Your Gum
- Form the mixture into balls or strips as preferred.
- If desired, sprinkle in citric acid for a sour twist.
Step 5: Let It Set
- Allow the gum to sit for about 30 minutes until firm.
Once set, enjoy your Homemade Bubble Gum! Each piece is packed with flavor and fun—perfect for sharing or enjoying solo.
How to Serve Homemade Bubble Gum
Serving your homemade bubble gum can be a fun and creative experience. Here are some delightful ideas to enhance your bubble gum enjoyment.
Party Favors
- Create small bags of bubble gum to give as party favors. Use colorful packaging to make them appealing for kids and adults alike.
Bubble Gum Sundae
- Top ice cream with pieces of your homemade bubble gum for a unique twist on a classic sundae. The sweetness of the gum complements the richness of the ice cream perfectly.
Bubble Gum Smoothie
- Blend your favorite fruits and some bubble gum for a fruity smoothie. This will add a sweet, chewy element to your drink that is sure to delight.
DIY Bubble Gum Gift Kits
- Assemble kits with ingredients needed to make homemade bubble gum. Include the recipe and let friends or family create their own delicious treats!
Themed Events
- Incorporate your homemade bubble gum into themed parties, such as a 1980s retro party, where bubble gum is a nostalgic treat that fits right in.
Interactive Activities
- Organize a fun activity where kids can make their own bubble gum. This not only serves as a treat but also provides entertainment!
How to Perfect Homemade Bubble Gum
Making the perfect homemade bubble gum is all about technique and flavor balance. Here are some tips to help you achieve the best results.
-
Choose high-quality flavoring oils: Using good quality flavoring oils ensures that your bubble gum has a rich and satisfying taste.
-
Experiment with colors: Don’t be afraid to mix different food colorings to create unique shades for your gum that match its flavor.
-
Knead thoroughly: Make sure to knead the mixture well after adding powdered sugar. This helps achieve the right consistency and prevents stickiness.
-
Let it rest: Allowing your bubble gum to sit for at least 30 minutes helps it firm up, making it easier to chew and blow bubbles.
-
Store properly: Keep any leftover bubble gum in an airtight container at room temperature to maintain its freshness and chewiness.
Best Side Dishes for Homemade Bubble Gum
To complement your homemade bubble gum treats, consider serving these delicious side dishes. They will round out your snack experience perfectly!
- Fruit Skewers – Fresh fruit on skewers makes for a light and refreshing side that pairs well with sweets.
- Mini Sandwiches – Bite-sized sandwiches filled with various ingredients offer a savory contrast to the sweetness of the gum.
- Veggie Sticks – Crisp veggies like carrots and cucumbers provide a crunchy texture that balances out sugary treats.
- Cheese Cubes – A platter of assorted cheese cubes adds an elegant touch and contrasts nicely with the flavors of candy.
- Popcorn – Lightly salted popcorn serves as an enjoyable snack option, providing crunch between bites of sweet gum.
- Chocolate Dipped Pretzels – Combining salty pretzels with sweet chocolate creates an addictive treat that guests will love!
Common Mistakes to Avoid
Making Homemade Bubble Gum can be fun, but it’s important to avoid common pitfalls. Here are some mistakes to watch out for:
- Not measuring ingredients accurately: Always use precise measurements for the gum base and other ingredients. This ensures the correct texture and flavor.
- Skipping the cooling time: Allowing the gum to sit for at least 30 minutes is crucial. This step helps it firm up properly.
- Overworking the mixture: If you knead the gum too much, it can become tough. Mix just until smooth and no longer sticky.
- Ignoring flavoring suggestions: Don’t be afraid to experiment with flavors! Sticking to one option can limit your creativity in making tasty bubble gum.
- Forgetting about citric acid: If you want a sour twist, adding citric acid is key. It enhances flavor and adds that tangy kick.
Storage & Reheating Instructions
Refrigerator Storage
- Store in an airtight container to keep it fresh.
- Homemade bubble gum lasts about 1 week in the fridge.
Freezing Homemade Bubble Gum
- Wrap pieces individually in plastic wrap or foil.
- Place them in a freezer-safe bag; they can be frozen for up to 3 months.
Reheating Homemade Bubble Gum
- Oven: Preheat to low heat (around 200°F). Place gum on a baking sheet for a few minutes until soft.
- Microwave: Heat for 5-10 seconds on a microwave-safe plate. Check frequently to avoid melting.
- Stovetop: Use a double boiler on low heat, stirring gently until soft.
Frequently Asked Questions
How long does homemade bubble gum last?
Homemade bubble gum typically lasts up to one week when stored properly in an airtight container in the refrigerator.
Can I customize the flavors of homemade bubble gum?
Absolutely! You can add any flavoring oil you like, such as peppermint, strawberry, or even bubblegum flavor for a classic taste.
What is the best way to store homemade bubble gum?
The best way is to keep it in an airtight container in the refrigerator or freeze it if you want to store it longer.
How do I make my homemade bubble gum sour?
To achieve a sour taste, simply mix in some citric acid during preparation. Adjust according to your preference for tartness.
Final Thoughts
Making Homemade Bubble Gum is not only delightful but also versatile. You can customize flavors and colors to suit your preferences, making each batch unique. Give it a try and enjoy creating your own candy masterpiece!
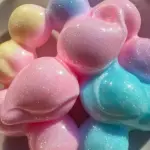
Homemade Bubble Gum
- Total Time: 15 minutes
- Yield: Approximately 10 servings 1x
Description
Make your own Homemade Bubble Gum for a fun and customizable treat! This delightful recipe lets you experiment with various flavors and colors, making it perfect for kids’ activities, birthday parties, or a sweet indulgence just for you. With simple steps and minimal ingredients, you can create a bubble gum experience tailored to your taste preferences. Enjoy the joy of creating unique flavors that will surely impress family and friends!
Ingredients
- 1/3 cup gum base
- ¼ cup corn syrup
- 3 tablespoons powdered sugar
- 3 tablespoons gum powder
- ¼ teaspoon citric acid (optional)
- Food coloring (as desired)
- Flavoring oil (as desired)
Instructions
- Melt the gum base in a microwave-safe bowl in 30-second intervals until completely melted.
- Stir in corn syrup until well combined.
- Add food coloring and flavoring oil, mixing until evenly distributed.
- Gradually incorporate powdered sugar until the mixture is no longer sticky.
- Shape into balls or strips; sprinkle with citric acid for a sour twist if desired.
- Allow the gum to rest for about 30 minutes to firm up before enjoying.
- Prep Time: 10 minutes
- Cook Time: 5 minutes
- Category: Dessert
- Method: Microwaving
- Cuisine: American
Nutrition
- Serving Size: 1 serving
- Calories: 40
- Sugar: 8g
- Sodium: 0mg
- Fat: 0g
- Saturated Fat: 0g
- Unsaturated Fat: 0g
- Trans Fat: 0g
- Carbohydrates: 10g
- Fiber: 0g
- Protein: 0g
- Cholesterol: 0mg

